commensurate
03 Aug 2026
| 89 Day(s) LeftChallenge details:
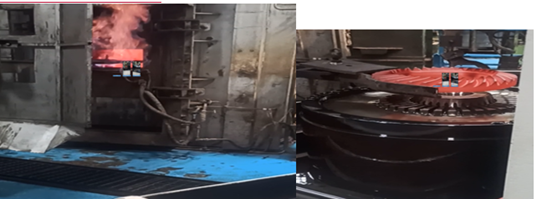
The gear and shaft manufacturing process involves several stages of machining operations for producing the required gear profiles and various other features on the gear and shaft. These features and profiles are critical to quality (CTQ) and need to meet design tolerances (ref. Figure 1). The current inspection setup is a manual process involving multiple measurement equipment that are time-consuming and result in audit-based sampling rather than 100% inspection. This limits our ability to ensure full compliance with CTQ parameters and traceability across production batches.
Gear Critical to Quality (CTQ) dimensions inspection:
- Inside diameter (ID/Bore diameter)
- Linear dimensions
- Face runouts
- Special profile on Gear teeth
Shafts Critical to Quality (CTQ) dimensions inspection:
- Outer diameter
- Linear dimensions
- Linear dimension with groove position
- Face and OD runouts
- Special profile on Gear teeth
We are seeking an innovative, automated inspection solution that can:
- Perform comprehensive inspection of gears and shafts with measurement accuracy as per design tolerance in drawing (minimum tolerance band value is 0.012mm or +/-0.006mm).
- Cover maximum CTQ parameters with minimal cycle time (Production volume 100% inspection @1300 Gears & @450 Shaft per day).
- Ensure 100% inspection with digital traceability of measurement results (QR code scanning)
- Generation of tabular and graphical reports for selected batch with SPC calculations
- Provision to connect data directly to QDAS server
- Be scalable and adaptable to different gear/shaft variants (Shaft length from 100 to 550 mm; Gear diameter from 50mm to 300mm)
- Cost effective


